Introduction
Setting up a Netgear router can seem like a daunting task, but with the right guide, it becomes straightforward. Whether you're a novice or a tech-savvy individual, following these structured steps will have your Netgear router up and running efficiently.
Pre-Installation Checklist
Before diving into the installation process, having a checklist can ensure you don’t miss any crucial steps. Here's what you'll need:
- Netgear Router Box: Ensure you have all the contents including power adapter, Ethernet cables, and the router itself.
- Modem: Make sure your existing modem is functioning correctly.
- Internet Service: A stable internet connection is critical.
- Computer or Smartphone: Device to access the router's web interface.
- Login Information: ISP credentials and Netgear router default credentials.
Being prepared with these essentials will make the installation process smoother and faster.

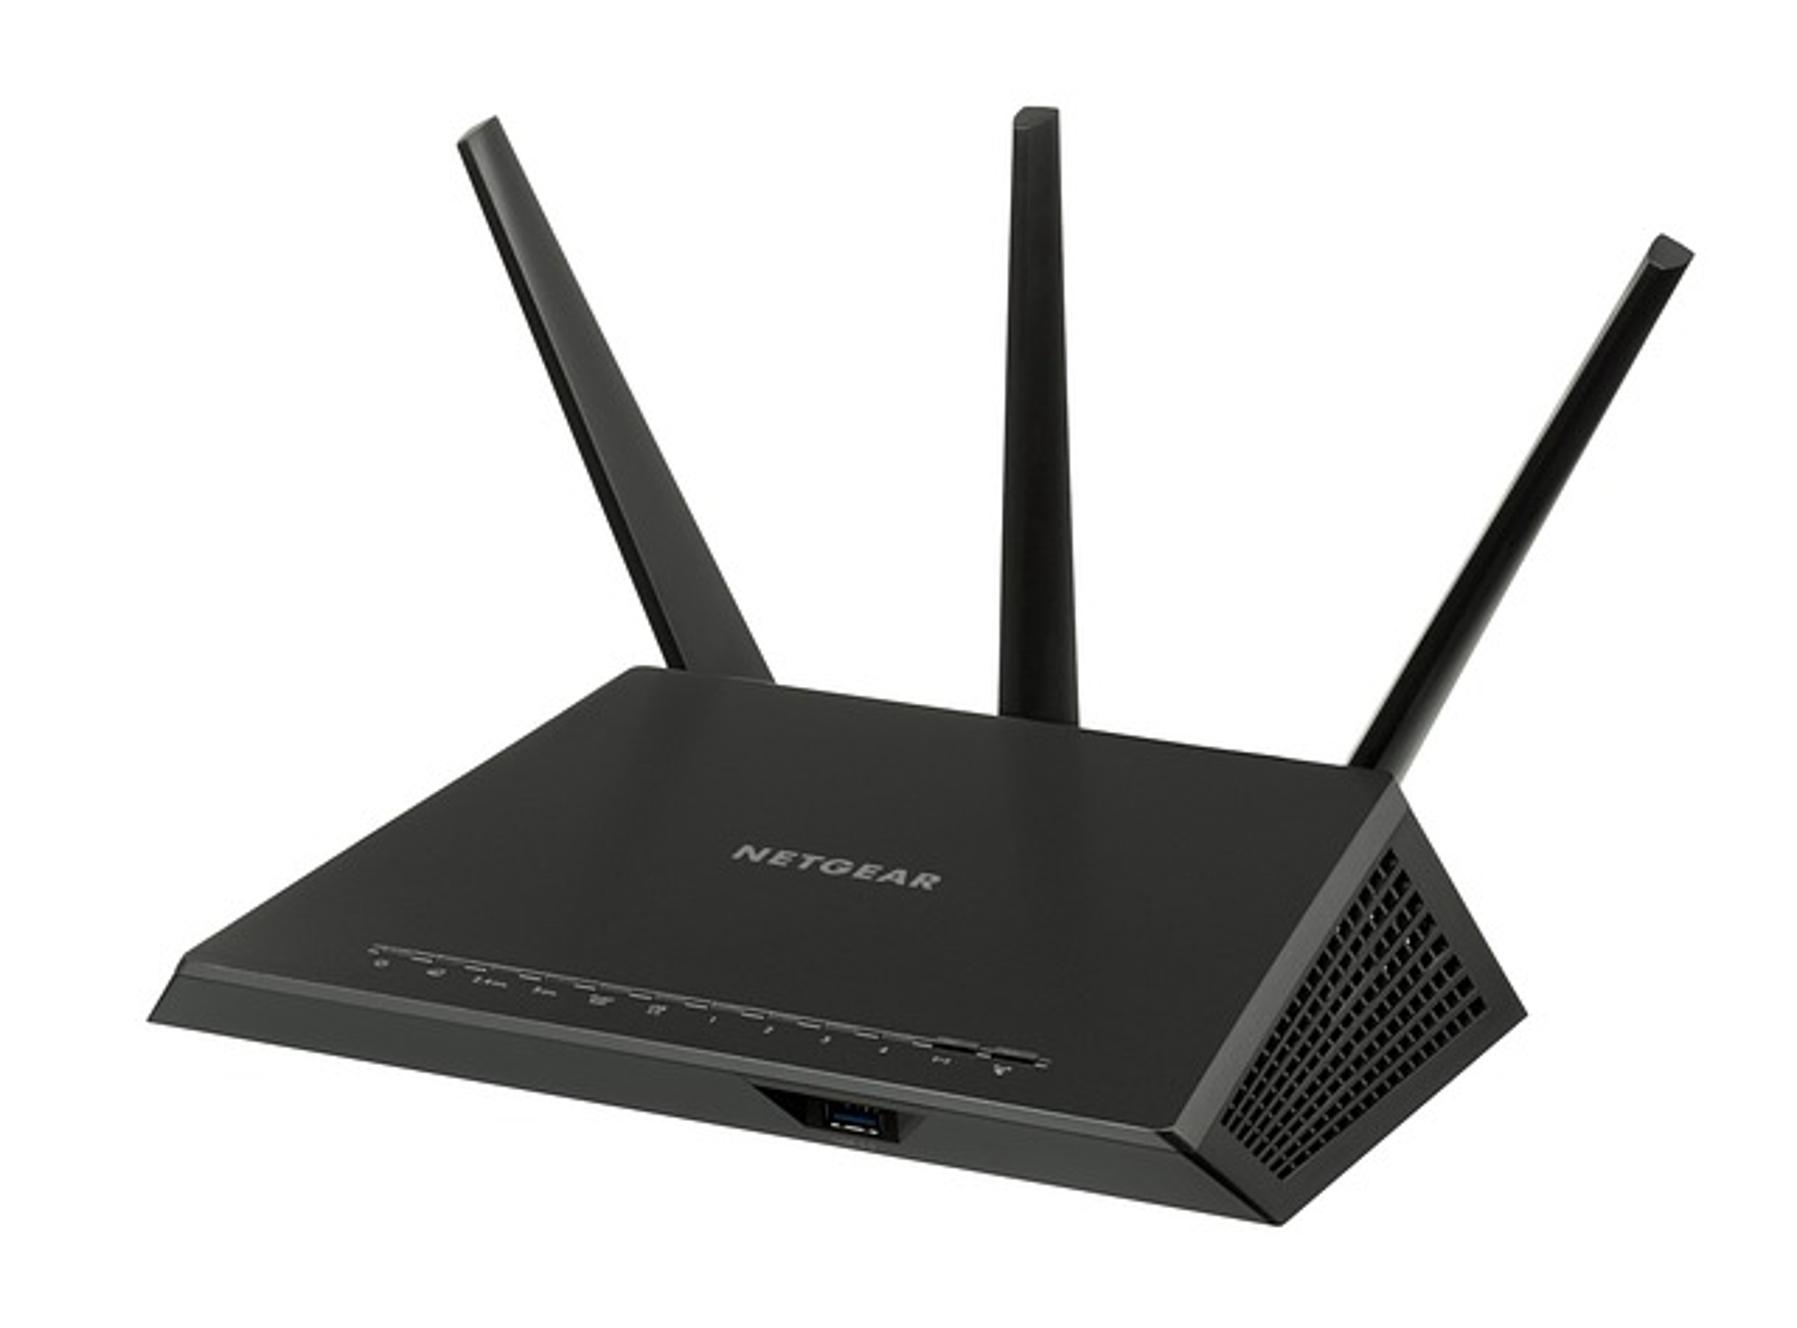
Unboxing Your Netgear Router
Unboxing is the first step towards getting started:
- Open the Box: Carefully open the box to ensure you don’t miss any components.
- Check Components: Inside, you should find the router, power adapter, Ethernet cable, quick start guide, and possibly antennas.
- Inspect for Damage: It's important to check for any physical damage to the router or its components.
Once you have everything in place, you are ready to connect your router.
Connecting Your Router
Now, let's get into the heart of the installation:
- Place the Router: Position the router in a central location for optimal Wi-Fi coverage.
- Power Up: Connect the power adapter to the router and a power outlet. Turn on the router by pressing the power button.
- Connect to Modem: Use an Ethernet cable to connect the modem to the router’s WAN port.
- Connect to Computer: Use another Ethernet cable to connect the router to your computer.
These steps establish the physical connections needed to access the router’s interface.
Accessing the Router’s Interface
Once your router is connected, you need to access its interface for configuration:
- Open a Web Browser: On your connected computer, open your preferred web browser.
- Enter Router’s IP Address: Type
http://www.routerlogin.net or http://192.168.1.1 in the address bar.
- Login: Enter the default username and password (usually 'admin' and 'password').
Accessing this interface allows you to begin configuring your router settings.
Configuring Basic Settings
Now that you’re in, let’s configure the essential settings:
- Change Default Credentials: Navigate to the settings and change the default username and password to something more secure.
- Set Up Wi-Fi Name (SSID): Choose a unique name for your network.
- Password Protect Your Network: Select WPA2-PSK for the most secure encryption and set a strong password.
These basic configurations help set up a secure and customized network environment.
Advanced Configuration
For those who need more specific setups, here’s how to delve into advanced settings:
- Guest Network: Create a separate guest network if needed.
- Port Forwarding: If you need remote access to certain devices, configure port forwarding.
- QoS Settings: Prioritize bandwidth for specific applications or devices for smoother performance.
- Parental Controls: Set up restrictions to protect younger users in your household.
Advanced configurations help optimize the router’s performance and meet specific needs.
Updating Router Firmware
Keeping your router’s firmware up to date ensures it runs smoothly and securely:
- Check for Updates: In the router’s interface, go to the firmware section.
- Download and Install: Follow prompts to download and install the latest firmware update.
Regular updates keep your router secure and functional.
Troubleshooting Common Issues
Sometimes issues arise, but troubleshooting can resolve most common problems:
- No Internet Connection: Restart your modem and router, check cables, and ensure the ISP is not experiencing outages.
- Slow Wi-Fi: Reposition your router, check for interference, and manage connected devices.
- Cannot Access Router Interface: Ensure you’re using the correct IP address and that your computer is correctly connected to the network.
These solutions address most routine problems.
Conclusion
Installing a Netgear router doesn’t have to be complicated. By following this comprehensive guide, you ensure that you set up and maintain your router efficiently, achieving the best performance.
Frequently Asked Questions
How do I reset my Netgear router to factory settings?
To reset your Netgear router, locate the reset button on the back of the router. Using a paperclip, press and hold the reset button for about seven seconds until the router restarts.
What should I do if my Netgear router is not connecting to the internet?
First, ensure all cables are connected properly. Restart both your modem and router. Check with your ISP to confirm there are no service outages.
How can I secure my Netgear router network?
For securing your network, change the default login credentials, enable WPA2-PSK encryption, create a strong Wi-Fi password, and keep your router’s firmware updated.